Showing posts with label smoked. Show all posts

Tuesday, September 18, 2012

How to Smoke a Turkey Breast on the Grill

Looking for a slice of Thanksgiving any time of the year, in less than two hours?

Cooking a whole turkey is an ordeal. There’s a lot of prep work, it takes days to thaw (while it consumes your entire refrigerator), and then it takes hours to cook. Done right, it’s delicious and totally worth the effort. But still, an ordeal.

A turkey breast, on the other hand, thaws overnight, doesn’t take up too much fridge space, and can be smoked in less than two hours (just enough time to make corn bread dressing while it smokes, but that’s a recipe for another day . . . stay tuned).

With just a little prep work, you can have a moist, juicy, flavorful smoked turkey any day of the year – give it a shot!


Ingredients:

1 turkey breast (about 4-5 pounds)
2 tablespoons butter

Brine ingredients:

Water (about 2 quarts – enough to cover the whole breast)
½ cup salt
½ cup brown sugar
¼ cup lemon juice (or two lemons, cut in half and squeezed)
1 tablespoon dried rosemary (or 2 sprigs fresh rosemary)
1 tablespoon dried thyme (or 2 sprigs fresh)

Rub ingredients:

1 teaspoon salt
1 teaspoon pepper
½ teaspoon paprika
½ teaspoon herbed poultry seasoning

Directions:

1.    The night before you’re planning to smoke the turkey, mix the brining ingredients in a large bowl and submerge the turkey. Cover and refrigerate overnight.
2.    When you’re ready to cook, fill a chimney starter with charcoal and begin to heat the coals. Soak wood chunks in water.
3.    While the charcoal is getting hot, prep the turkey. Remove it from the brine, and discard solution. Pat the turkey dry. Rub it with the butter, then sprinkle generously with salt, pepper, herbed poultry seasoning and paprika (feel free to mix up the spices to get the flavor you want).
4.    When the coals are ready, set up your grill for indirect heat (like you would for BBQ pork shoulder). Place charcoal on one side of the grill. Place a drip pan on the other side, next to the goals. Place soaked wood chunks directly on the charcoal, then add the grill grate.
5.    Place the turkey above the drip pan, on the opposite side of the grill from the charcoal and wood. Cover the grill, with the holes in the lid directly above the turkey.


6.    Smoke turkey, covered, for 40 minutes. Rotate the turkey 180 degrees, add newly soaked wood chunks, and recover.
7.    Smoke turkey another 40 minutes. Rotate turkey again, add more wood chunks, and insert a meat thermometer into the thickest part of the breast, not touching the bone.
8.    Continue smoking turkey until it reaches an internal temperature of 165 degrees. Remove turkey from the grill. Let rest for 15 minutes before carving. Enjoy!


If you like this recipe, please be sure to click on the links below to share it! And don’t forget to follow @youcangrillthat on Twitter!

Monday, June 11, 2012

Beer Can Chicken – Indian Style!

This dish is a spicy, savory, Indian play on the classic beer can chicken.  The chicken is rubbed with a spicy, flavor-packed Indian dry rub, and then smoked on the grill over a can of beer.  The result is chicken that's crispy on the outside and incredibly moist on the inside.  It’s served with a coconut and curry sauce that’s sweet and savory, along with some zucchini and some lightly grilled flatbread to soak up all the extra sauce.

And besides, who doesn’t want to try a recipe when step one is, “Drink half a can of beer”?

 
Ingredients (serves 4):

1 can of beer
1 whole chicken (4 to 4 ½ pounds)
2 tablespoons olive oil
Salt and pepper
4 pieces flatbread

Indian dry rub:
3 TBSP curry powder
1 ½ TBSP coarse sea salt (substitute regular table salt if you don’t have sea salt)
2 TBSP red pepper flakes
1 TBSP ground cumin
1 TBSP ground coriander
½ TBSP dry mint
½ TBSP ground ginger

Coconut Curry Sauce with Zucchini:
1 onion, chopped
4 cloves garlic, minced
1 jalapeno chili, chopped
1 tsp lemon juice
2 TBSP olive oil
2 zucchinis, cut into bite-sized pieces (feel free to substitute other vegetables, like squash, carrots, etc.  Just be sure to adjust the cooking time as needed.)
¼ cup chicken broth
1 TBSP curry powder

Directions:

1.    Drink half a can of beer.
2.    Remove chicken giblets and rinse chicken inside and out.  Pat dry with paper towels – get it as dry as possible.
3.    Brush chicken with olive oil.  Sprinkle with salt and pepper.
4.    Combine dry rub ingredients, and coat chicken generously with the rub.


5.    Shove the beer can into the cavity of the chicken.
6.    Set up your grill so that the charcoal and some wood chips (pre-soaked in water to get the smoke going) are one side, and drip pan is on the other.
7.    Place the chicken on the opposite side of the grill from the coals, above the drip pan, so that it will cook indirectly.  Position the chicken so that the can and the two legs form a tripod to hold the chicken upright.
8.    Smoke the chicken, with the grill covered, for about an hour and fifteen minutes.  
9.    While the chicken is ready, go ahead and prep for your coconut curry sauce.  Puree the onion, garlic, jalapeno, and lemon juice in a food processor (or blender).
10.    When the temperature of the chicken reaches 165 degrees in the breast or 180 degrees in the thigh, and the juices run clear, remove the chicken and let rest for 10 minutes before carving.  This will give you time to put together your curry sauce.
11.    Place a cast iron pan on the grill directly above the coals.  Heat the olive oil.
12.    Add your pureed blend and stir for about 2 minutes.  Then add the zucchini and chicken broth and cook for another 2 minutes.  Stir in the curry powder, then the coconut milk, and cook until it begins to bubble.  Move the pan to the other side of the grill to simmer for about 10 minutes.


13.    Quickly heat the flatbread – about a minute on each side – while the sauce simmers.
14.    Remove the bread and sauce, serve with the chicken, and enjoy!

If you like this recipe, please be sure to click on the links below to share it! And don’t forget to follow @youcangrillthat on Twitter!

Sunday, April 15, 2012

Holy Smokes! How to Smoke BBQ Pork on the Grill

Those of us raised in the south know that barbeque is barbeque and grilling is grilling, and never the twain shall meet.  Ok, maybe “never” is a bit strong. 

In fact, you can barbeque pork on the grill, but the principles of BBQ stay the same.  Say it with me, LOW AND SLOW.  The key to smoking pork on the grill – in this recipe, a pork shoulder – is to keep the temperature constant and low while the meat reaches fall-off-the-bone status.  And if you follow this recipe for smoked pork shoulder on the grill, fall off the bone it shall.  Try it with ketchup-and-molasses-based sauce, Columbia, SC-mustard-based sauce, Dr. Pepper sauce, or Cherry Cola Sauce. Dig in!


Prep time: 10 minutes.  Cooking time: 10-12 hours

Ingredients:

Pork shoulder (allow 1 pound per person)

Dry rub ingredients:

1 cup brown sugar
1/4 cup salt
2 tablespoons black pepper
1/2 tablespoon cayenne pepper
1 tablespoon garlic powder
1 tablespoon onion salt
2 tablespoons paprika

Directions:

1.    The day before you’re planning to smoke your pork shoulder, combine all dry run ingredients in a bowl.  Rub generously over meat, cover, and refrigerate.


2.    The day you’re planning to cook, set your alarm early!  It’s going to take about 12 hours total time.
3.    First thing, take the pork out of the fridge.  Then start soaking your wood chunks (or chips, though chunks are better) in water.  TIP: Toss a little apple cider vinegar in the water.  Then light your about 16 pieces of charcoal in a chimney starter.
4.    When the charcoal is ready, place it on the far end of the grill, in a charcoal holder if you have one (or a neat pile if you don’t).  Put a handful of wood chunks/chips over the charcoal.  The wood will give you your smoke, which is key for the flavor.


5.    On the other side, place a drip pan, with a little bit of apple cider vinegar poured in the bottom of the pan, lime so:


6.    Place the pork shoulder onto a grilling grate, and place the grate above the drip pan.  Your set up should look like this:

  
7.    Place the cover over the grill, with the holes above the meat, opposite the coal.  Make sure the holes on the cover and the bottom of the grill are open.  This should get some good smoke going!
8.    Now comes the hard part.  To maintain a constant, low temperature (you want to keep it as close to 225 degrees as possible), you’re going to need to keep about 12-15 lit charcoals going at all times, so you need to replace the coals every 60-90 minutes.  But you need to add coals that are already lit.  So every hour or so, light 12-15 new coals in the chimney starter.  Once they’re ready, add them to the grill. 
9.    For the first 3-4 hours, you should also add (pre-soaked) wood chunks/chips every 60 minutes to keep the smoke going.
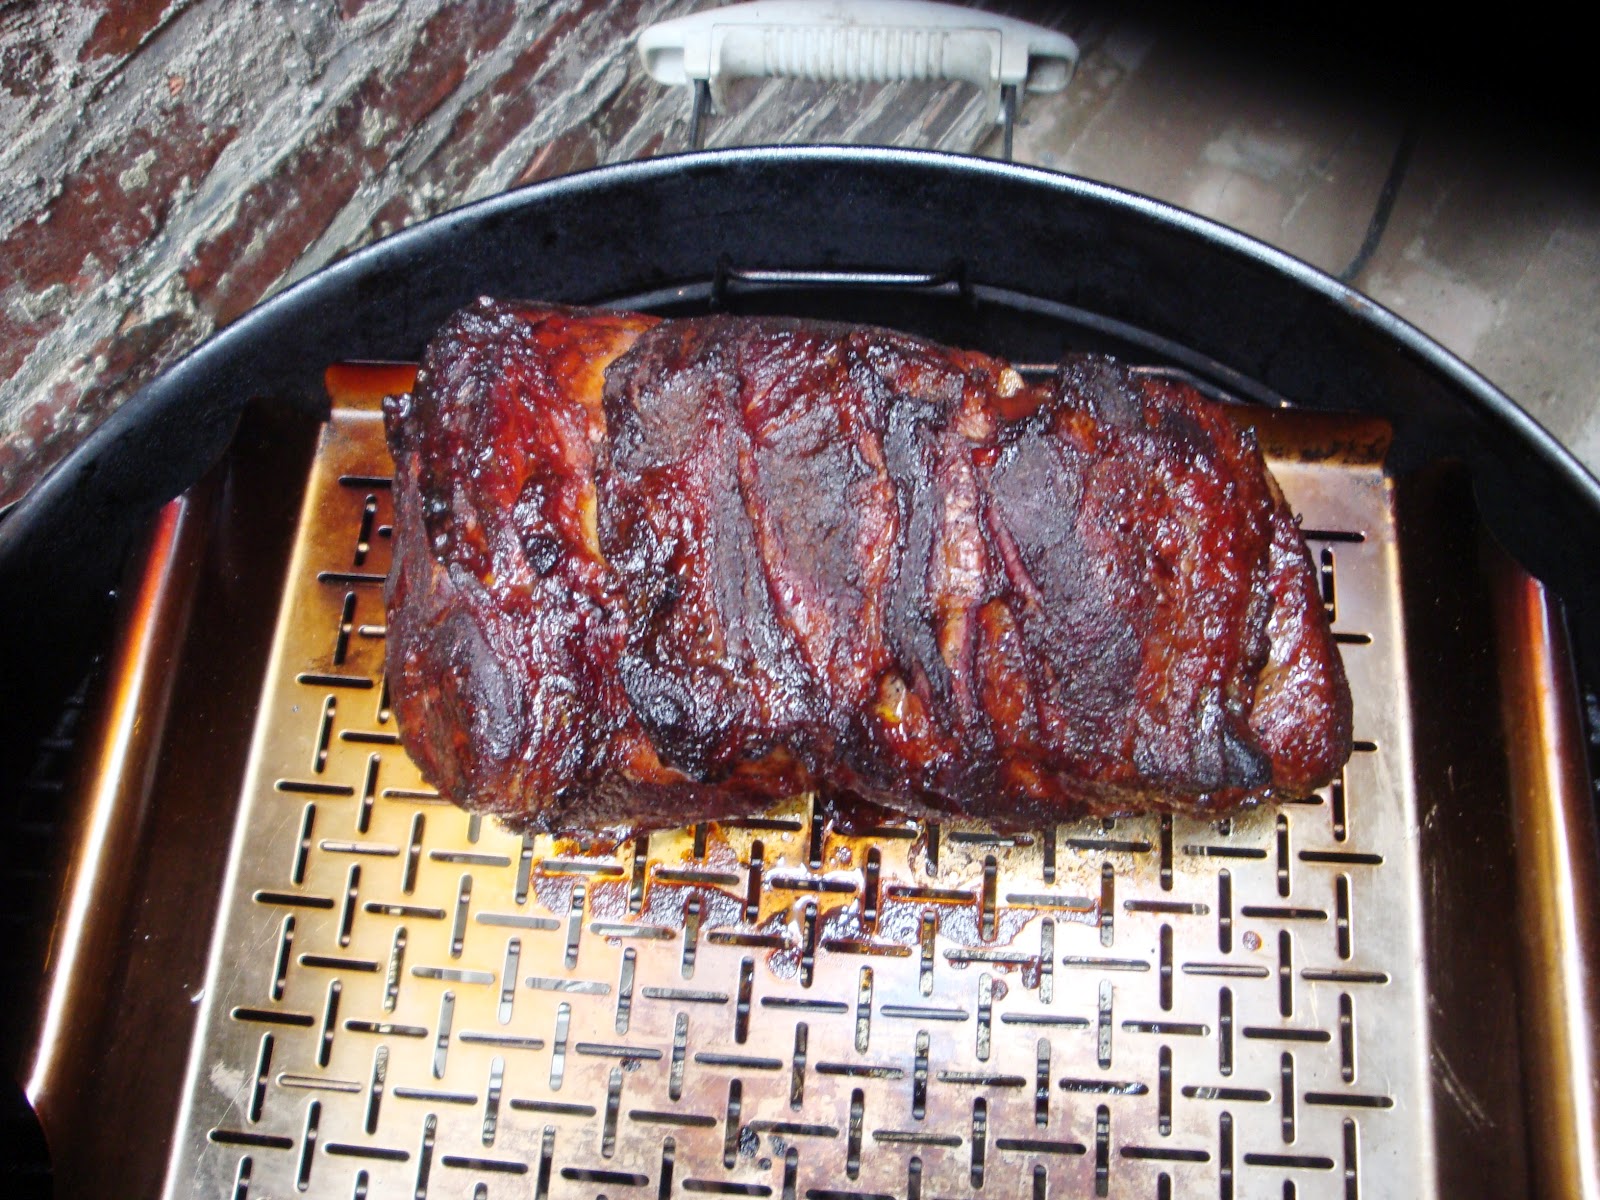
10.    At about 3 hours (or closer to 4 if it’s a large shoulder), your meat will have a nice, black crust, like so:


11.    At this point, it won’t be able to take in any more smoke, so go ahead and wrap it in thick aluminum foil, and don’t bother adding wood chunks for the rest of the cooking time.  Just keep adding new coal as needed.
12.    When the shoulder reaches an interior temperature of 190 degrees, remove the pork from the grill.  Let rest for 30 minutes in foil.
13.    Open:


14.    Pull apart and enjoy!


If you like this recipe, please be sure to click on the links below to share it! And don’t forget to follow @youcangrillthat on Twitter!